

Azure Bastion is a fantastic service for securely accessing virtual machines deployed in Azure, relying on the capabilites of Azure AD and the Azure portal like Multi-Factor Authentication. In terms of cost, it isn’t prohibitive for an organization that needs such a capability. However, when you’re working in a significantly constrained subscription for the purposes of a lab environment (e.g. Microsoft Partner Network or Visual Studio Subscriptions) that have spending limits ranging from $50-150 per month, running the Basic SKU of Azure Bastion is just over $138 for an entire month. In addition, Azure Bastion isn’t a service that can be stopped to end accrual of costs. Your options are to deploy and destroy, as needed.
None of the tasks to accomplish this are horribly complicated, but it does take beyond 10 minutes for Azure Bastion to be deployed once you give it the “Go”. How can we streamline this process?
I built out an example infrastructure (included in the repository) that has resource group, a virtual network with the prescribed subnet name of “AzureBastionSubnet” and a /26 CIDR address space and a Standard Public IP Address, so we simply need to reference the resource group, virtual network, subnet, and public IP address to deploy Azure Bastion.
Terraform code
First, I started by writing the Data Resources to reference the existing dependant resources in the main.tf:
These reference three (3) variables that have been defined in the variables.tf, plus a variable for the Azure Bastion resource:
And the resource we’re deploying:
This is all pretty simple. We could deploy and destroy this rather easily ourselves with a few commands (assuming we already have initialized the Terraform code):
While it is just a couple of lines, I don’t even want to deal with authenticating (and annoying MFA prompts) then setting the subscription. What if we could drop this into a pipeline to make it more codified?
GitHub Actions
The repository is already in GitHub, so GitHub Actions is simple enough to get the work done. The repo has two workflow files apply.yml and destroy.yaml and they perform all of the work required:
- Checking out the code
- Installing Terraform
- Authenticating to Azure and selecting the subscription
- Downloading a TFVARS file (we could have used secrets for everything)
- Establishing our backend for Terraform state “Just in Time”
- Running a
terraform init - Executing the requisite
terraform apply -auto-approveorterraform destroy -auto-approve
The code relies on the workflow_dispatch event so we can manually kickoff each workflow from GitHub Actions (or use a web hook).
I surely don’t like dealing with credentials, so I created an App Registration in Azure and granted the service principal the necessary rights to deploy in the resource group and to read/write to the Azure Storage Acccount that holds the container for the TFVARS file and the Terraform State. To get around managing credentials, I established what GitHub calls “Workload Identity Federation” which uses Open ID Connect to dynamically access a token based on the trust between Azure AD and GitHub provided by a claim with a subject name that is based on the repository and other specified information (it could be a branch, an environment, a pull request, or a tag). These all get assembled in the Subject Name so that distinct permissions could be granted. For instance, perhaps there is a separate service principal for “Test” and that is aligned to an Environment in the repo called “Test” and the roles limit premissions to the exact scope and actions necessary. You could then have a separate principal for “Production” tied to a “Production” Environment in the GitHub repository. This gives you the ability to have separate secrets for the environments, as well.
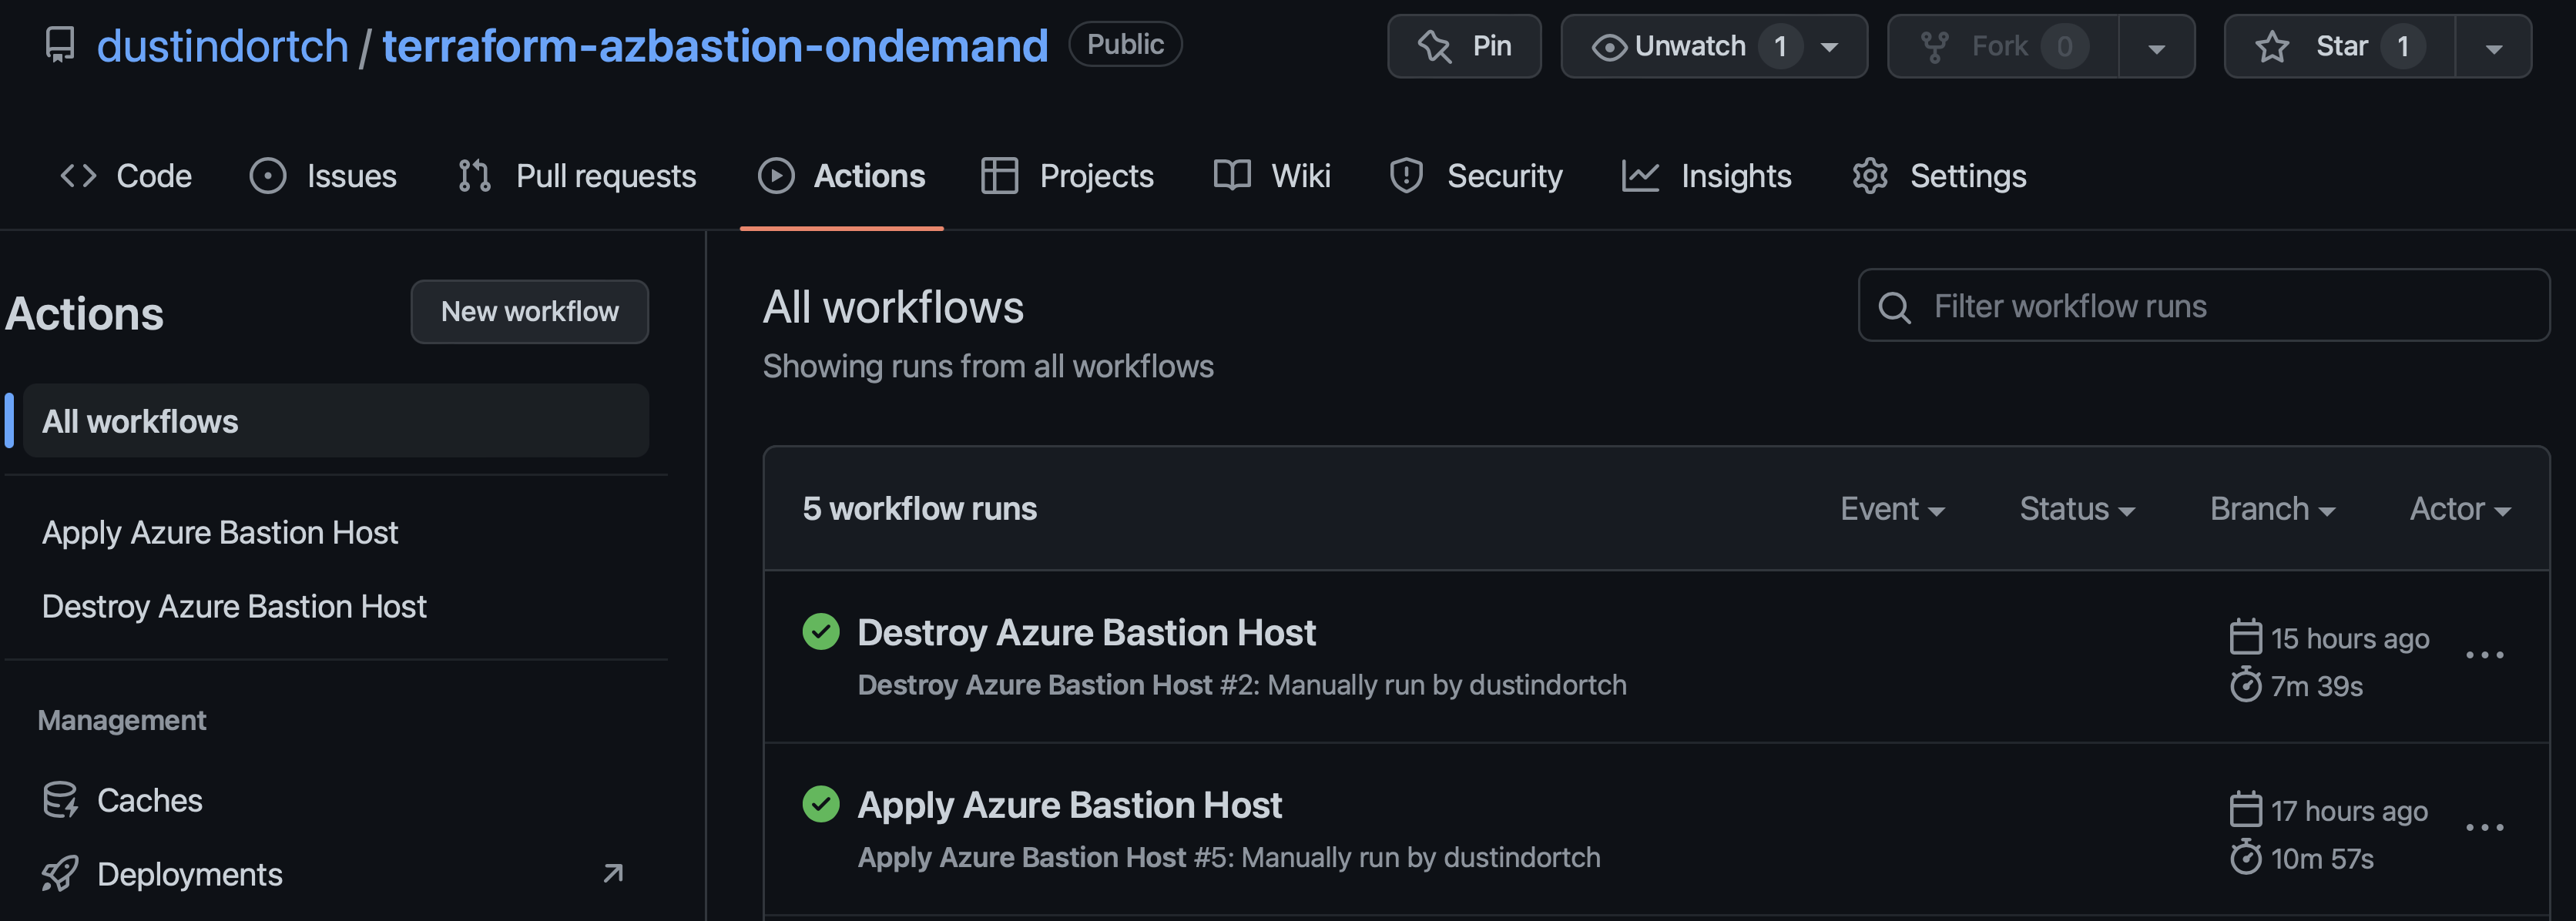
Now we’re able to go into the repo, click on “Actions”, and manually run the “Deploy” or “Destroy” workflows as needed. This is still too many steps for me because I am going to have to wait 10+ minutes for it to deploy.
Shortcuts
This could work with several platforms, but I did mention that the workflow_dispatch event allows for calling from a web hook. So instead of going through a lot of motions, I am using Shortcuts available on macOS or iOS (yes… iPhone OS or iPad OS) to talk to the GitHub REST API to kickoff the workflows. It requires a Personal Access Token (PAT) in GitHub with “repo” and “workflow” rights. I am hoping the new “Fine-grained tokens” will allow for more a least privilege capability giving the ability to limit to a specific repo or specific workflows.
This is pretty simple using the “Get contents of URL” action in Shortcuts. The URL has a pattern of https://api.github.com/repos/<OwnerName>/<RepoName>/actions/workflows/<WorkflowFilename>/dispatches. The method should be “POST” and we need to pass a few headers, including an Authorization header with our GitHub PAT. In addition, there is a JSON body that must be passed:
I create a separate Shortcut for “Deploy” and “Destroy” and I can have then on my home screen or elsewhere. A future improvement could be using a secrets engine of sorts with Shortcuts to manage the PAT.

Before deployment:

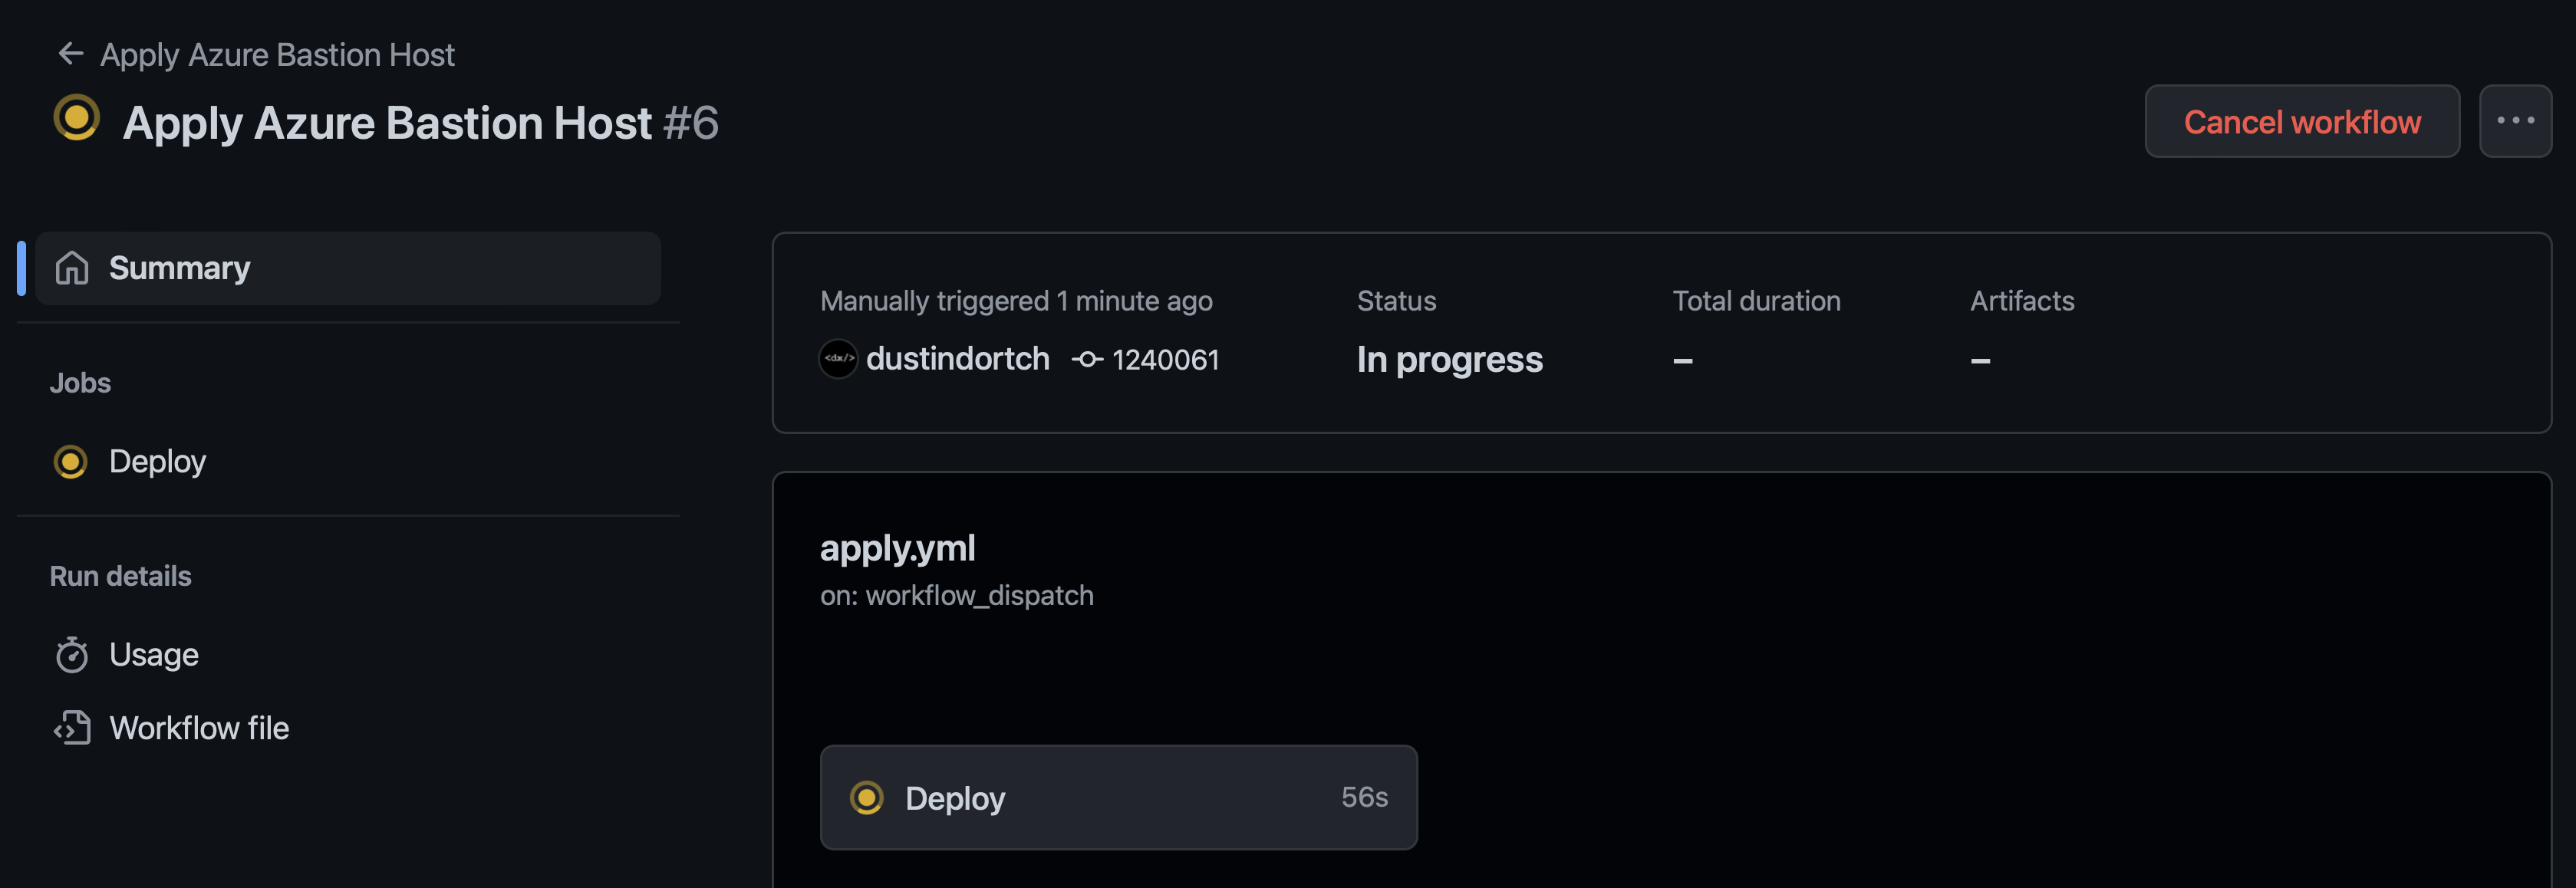
Workflow kicked off after running Shortcut:
After workflow execution:

